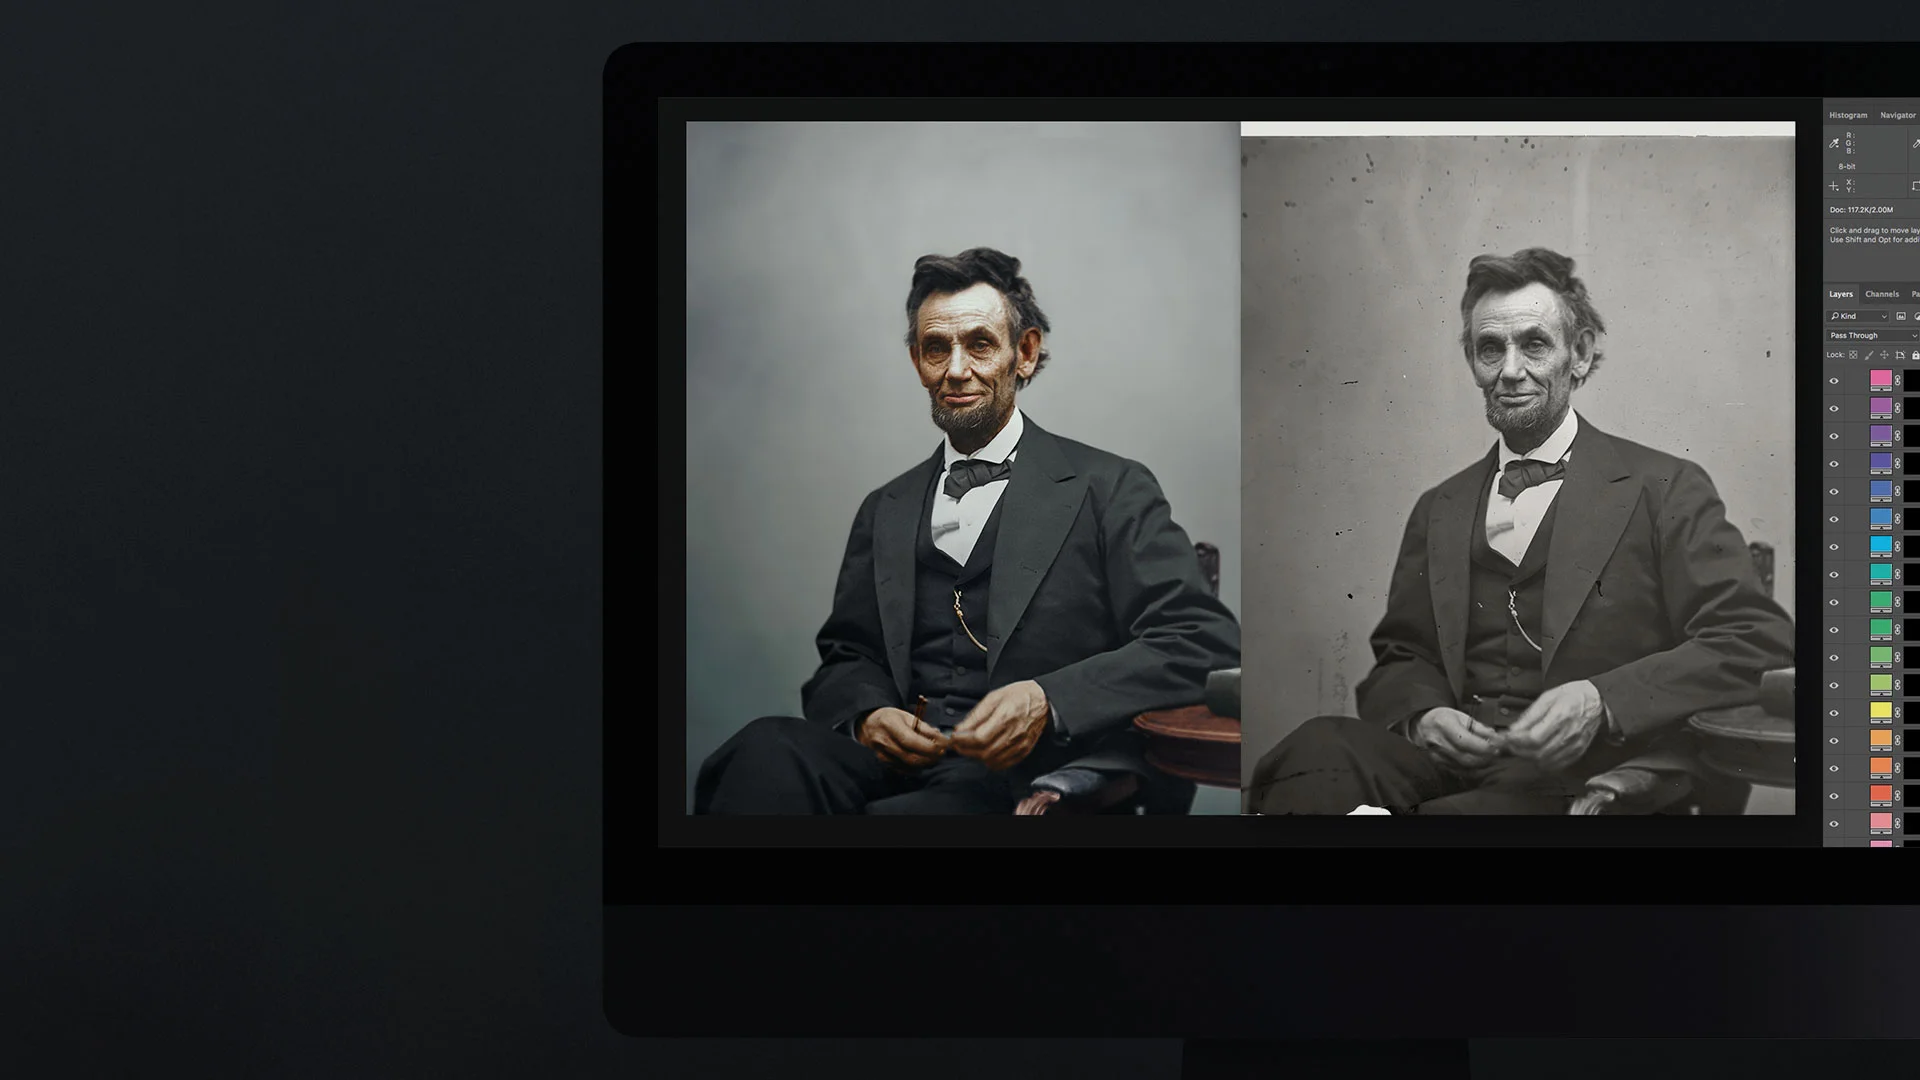
Cart 0

The Process


Colorization is a laborious process, painting on layer upon layer of color onto an original black and white picture, and making it realistic enough to make you believe you are looking at a genuine color photograph. Some images can have over a thousand separate layers of color to make sure every single detail is accounted for.

We also painstakingly restore any damage to the photograph, and conduct as much research as we can in order to obtain as many accurate color references as possible. Here, the entire process is broken down into six stages, which is typical of many of the photographs that are rendered into color •


Stage 1:
Appraisal
& Evaluation

DYNSCP_Process_Stage_1.jpg


Appraisal & Evaluation

Before any work can begin, a thorough appraisal of the level of damage that the photograph had sustained across time is essential. This damage could be anything from a cracked glass plate to mould and mildew. In this iconic portrait of Abraham Lincoln we can see some dust and scratches, that are far more substantial at 100% detail, which will need to be cleaned up •


Stage 2:
Restoration &
Reconstruction

DYNSCP_Process_Stage_2.jpg


Restoration & Reconstruction

Once the extent of the damage is known, an intensive digital clean and restoration begins. In some cases, whole areas of the photograph may need compositing and reconstructing, so that the foundational black-and-white information underneath the later color is as close as possible to its original state when it was taken. Contrast adjustments are also made at this stage to even out any anomalies from the original process, resulting in a facsimile of what the original photographer created all those years ago •


Stage 3:
Blocking
In Color

DYNSCP_Process_Stage_3.jpg


Blocking In Color

Blocking in the color is a simultaneously meditative and overwhelming process, in which layers of color are digitally ‘painted’ onto the restored photograph. How many layers? In some instances, thousands. The garish color scheme is intentional, allowing every detail to be picked up, so we can differentiate Lincoln’s jacket buttons from his waistcoat buttons and everything in between. Each area will contain several (sometimes dozens of) individual layers to simulate color gradation in light and shadow •


Stage 4:
Historical
Research

DYNSCP_Process_Stage_4.jpg


Historical Research

Attention to detail matters. Running concurrently with the restoration process, the historical research can take a great deal of time to get right, and involves everything from looking at satellite imagery, looking through reference books in archives and getting in touch with subject experts, in order to get as many accurate color references as possible. In more complex images, hundreds of references need to be obtained in order to produce the most authentic version of a photograph as we can make it •


Stage 5:
Matching
References

DYNSCP_Process_Stage_5.jpg


Matching References

The real magic of a colorized photograph appears when the garish areas of blocked in colour meet the historical research, which is adjusted to match each colour reference we can find. Here, we’ve located the Brooks Brothers’ suit and Lincoln’s pocket watch, whilst the photograph of the table and chair is from the same period. The color is then sourced directly from the reference material, and adjusted to the lighting conditions •


Stage 6:
Bringing it
All Together

DYNSCP_Process_Stage_6.jpg


Bringing it All Together

Even after the entire photograph is colorized there is more work to be done. Additional contrast changes for certain areas balance the entire shot, in addition to colour filters and other tweaks, adding that final polish to the entire composition. The result is an authentic representation of Lincoln as Gardner may have seen him, fidgeting with his spectacles, pencil in hand •